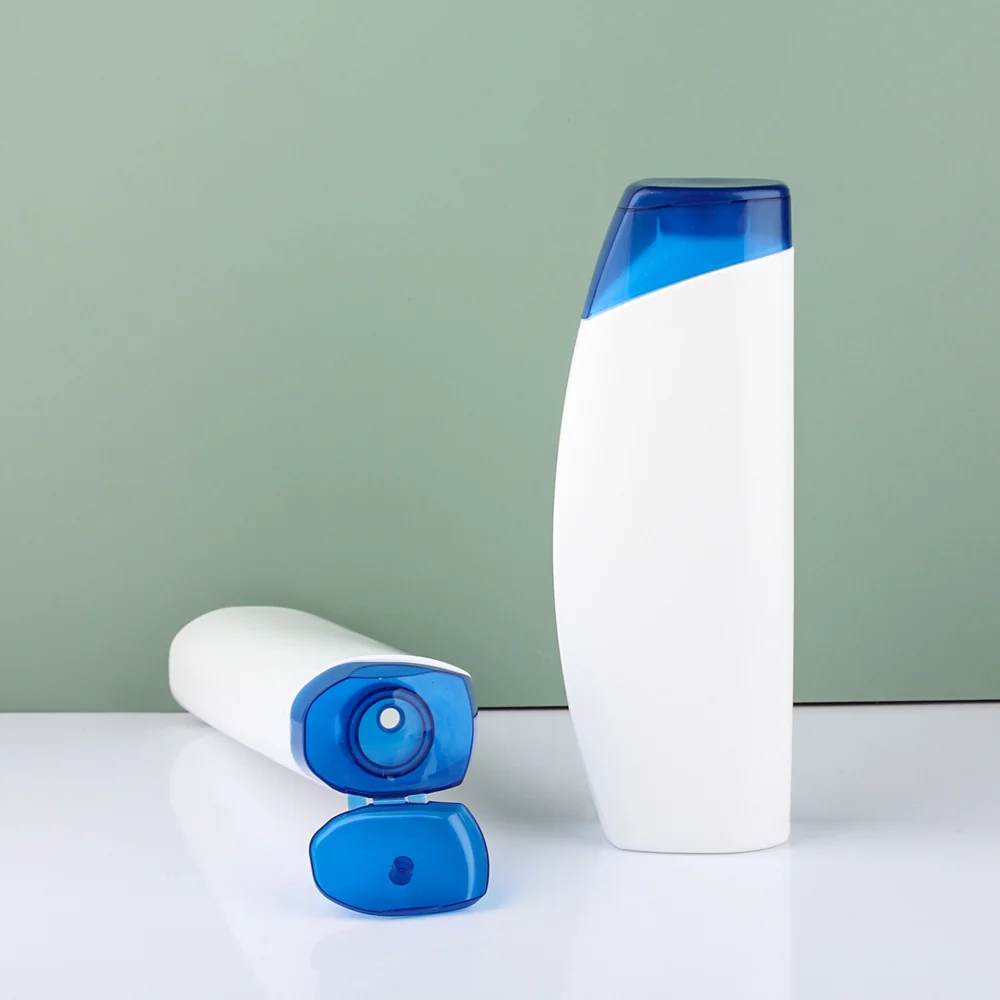
Shantou, Guangdong · China's Cosmetic Packaging HubFactory direct · No middlemanMOQ from 10,000 pcs · Samples in 3–7 days
Free samples|◍|WhatsApp +86 156 2555 3187
"Ten days from drawing to sample" is the kind of claim that deserves suspicion. So rather than assert it, here is the schedule we work to, stage by stage, including where it usually slips.
Everything starts when four things land in one message:
A brief missing the neck finish or the reference can cost two or three days before anything else begins. This is the single most common reason a ten-day promise turns into thirteen.
Our engineer works through the drawing for blow-mouldability, not just for appearance. Blow moulding stretches material — a wall that is 1.2 mm in the drawing may end up 0.35 mm at the shoulder, and a corner with an 1 mm radius will not fill.
You get back a marked-up drawing with any changes noted: adjusted radii, a thickened base, a shifted parting line, a suggested pinch-off at the base. Most projects need one or two adjustments. This is the cheapest place in the whole project to change your mind.
For a stock neck and shape, we machine a sample mould or a cavity insert. For a genuinely new shape this is a prototype tool — usually aluminium rather than steel, good for a few thousand shots and fine for sampling and market testing.
| Day | Activity |
|---|---|
| 3 | CAM programming, tool path generation |
| 4–5 | CNC machining of the mould halves |
| 6 | Polishing, fitting, mounting to the machine |
If your brief included an existing mould number from our list, days 3–6 collapse to a day or two of setup and you gain four days.
The first shots are almost never the final product, and anyone who tells you otherwise is selling optimism. Day 7 is where you get photographs and measurements: wall thickness at four points, weight, capacity to the fill line, neck dimensions, and a top-load reading.
Adjustments at this stage are normal and usually small — a temperature change on the parison, a minor change to the pre-blow, a trim adjustment. Day 8 produces the good sample.
If the bottle needs printing, labelling or a sleeve, day 9 covers it: silk-screen, offset, or hot stamping on a short run. Day 10 is final inspection, photographs, and dispatch by courier.
| Undecorated sample | Decorated sample | |
|---|---|---|
| Realistic total | 8–10 days | 10–14 days |
| What slows it down | Missing neck spec | A colour match that needs a lab dip, or artwork that is not vector |
| Cause | Typical delay | How to avoid it |
|---|---|---|
| A neck finish decided mid-project | 3–5 days | Lock it at the brief; it drives the mould |
| Artwork that is not vector | 1–2 days | Send AI, EPS, PDF or SVG |
| A colour match requiring lab work | 2–4 days | Approve against a physical chip, or accept the nearest stock colour |
| Waiting on a decision | Unbounded | Name one approver |
An approved sample is not just a yes in an email. It is the physical reference we hold against production. It gets sealed, photographed, measured, and kept. Any production run is checked against it — weight, wall thickness, print position, cap torque.
That is why a sample that is "close enough" is a bad bargain. Once it is approved, it becomes the standard, and every bottle afterwards has to match it.
Some buyers assume the sample mould is production-ready. Usually it is not, and the difference matters for cost and timeline:
| Prototype tool | Production tool | |
|---|---|---|
| Material | Aluminium, sometimes soft steel | Hardened steel |
| Life | A few thousand shots | Hundreds of thousands |
| Cost | Lower | Higher |
| Use | Sampling, market testing, small runs | Ongoing production |
If your first year's volume is under about 20,000 units, a prototype tool may genuinely be all you need. If you are planning 200,000, go straight to the production tool — the prototype cost would be duplicated, not saved.
We will recommend resin, gram weight and neck finish, and quote unit price + mold cost within 24 hours.
Reply within 2h · GMT+8 08:30–18:00
Free samples for stock items